
R installation + screenshots
[This article was first published on Learning Omics » R, and kindly contributed to R-bloggers]. (You can report issue about the content on this page here)
Want to share your content on R-bloggers? click here if you have a blog, or here if you don't.
Want to share your content on R-bloggers? click here if you have a blog, or here if you don't.
Feeling faint of heart without photos depicting what to do? No worries, here they are.
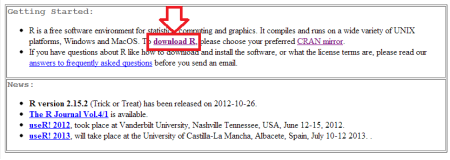
- Go to the R website and click “Download R” under “Getting Started”
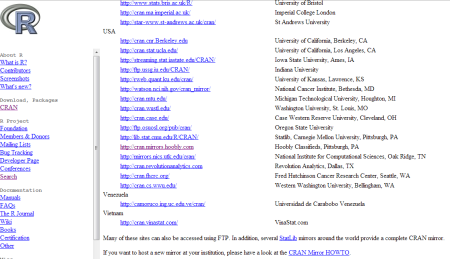
- Choose a place to download R. Even though we’re on the limitless and borderless interweb, choosing a location close to you helps speeds things up.
- Choose which R package to download based on your operating system in the first box. If you are Unix or Mac user, I apologize but this is where we now go our separate ways.

- Click on “install R for the first time” then download the file with the biggest font on the top. Open that puppy up.

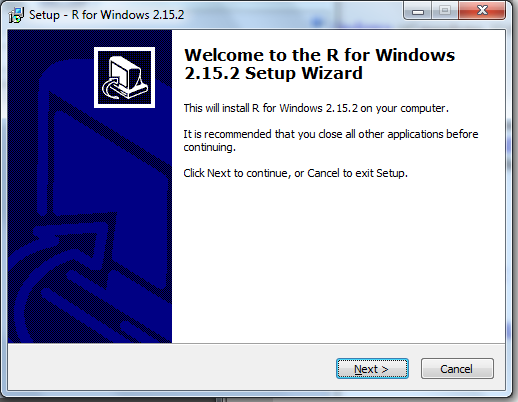
- Windows might be paranoid and say the publisher could not be verified. Click “run”. Then choose your language.
- Click “next” to start the installation, agree to all their legal writings, and selection an installation window.

- Select “Core Files” and then either 32-bit or 64-bit files depending on your computer system.
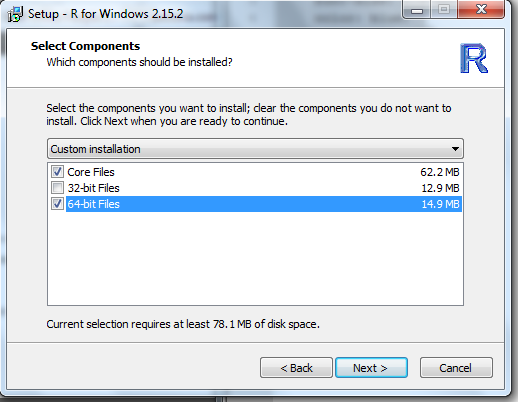
(To check, hit Start, right click Computer and select Properties. Look at System Type).
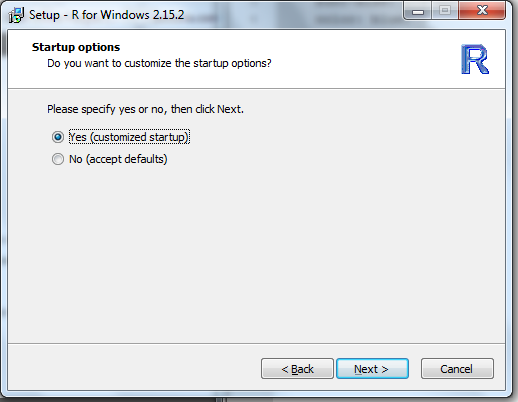
- Now you have a choice for Startup Options. I prefer to view the program in multiple separate windows so that I can arrange them on my screen while also have an internet browser or a notepad type program open as well.
 If you like what you see in the photo above, click “Yes (customized setup)”. If you prefer to have one window with all the components of the program viewed inside that window click “No (accept defaults)” and skip to Step 12.
- If you said yes to Step 8, click ”SDI (separate windows)”.

- Next, you can specify plain text or HTML help. I would suggest HTML help because it is easier to view than plain text, which appears in the window.

- If you are at an institution that utilizes Internet2.dll, select “Internet 2.” If not or if you are unsure, select “Standard”.

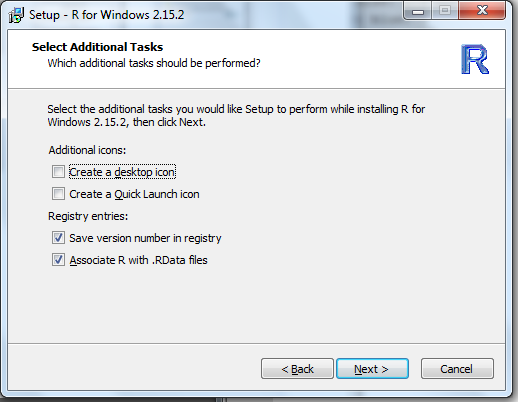
- Go ahead and create a program shortcut by clicking “Next“.
- Choose if you want to have another icon clutter your desktop and/or Quick Launch toolbar. I suggest leaving the two options under “Registry Entries” selected.
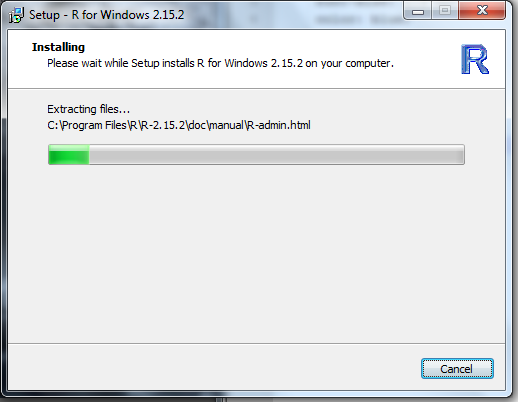
- Let it do its thing. Go on Facebook, write a Tweet or run to the bathroom really quick.
- Things should be all done! Go update your status or Tweet how excited you are to have installed R.


To leave a comment for the author, please follow the link and comment on their blog: Learning Omics » R.
R-bloggers.com offers daily e-mail updates about R news and tutorials about learning R and many other topics. Click here if you're looking to post or find an R/data-science job.
Want to share your content on R-bloggers? click here if you have a blog, or here if you don't.